Lightning Banner
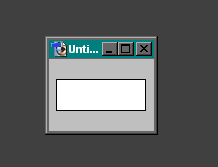
1.Open Photoshop and create a new document.(88pixel X 30pixel).
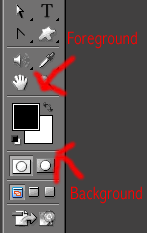
2.Press "d" on your keyboard to restore the default foreground and background color and create a new layer.
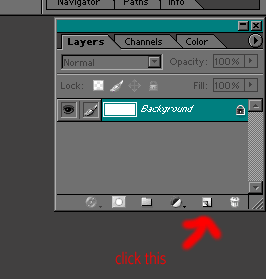
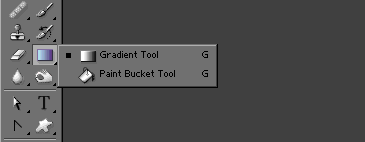
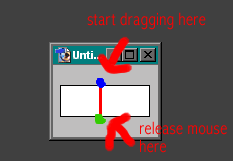
3.Select the Gradient tool and drag the pointer from top to bottom(refer to the image below).
4.Press "ctrl+j" to duplicate the layer. Duplicate it three times and apply filter on each layer by going Filter>Render>Difference Clouds.
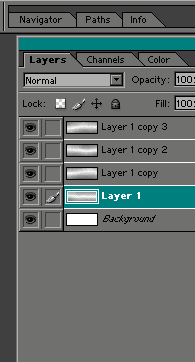
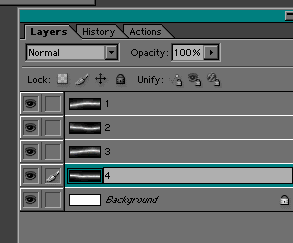
5.Invert each layer by selecting Image>Adjustments>Invert. Your Layer palette should look like the image below:
6.Open your Levels Dialog box by Image>Adjustments>Levels and drag the middle pointer as shown below(do this on the other three layers).
Before dragging...
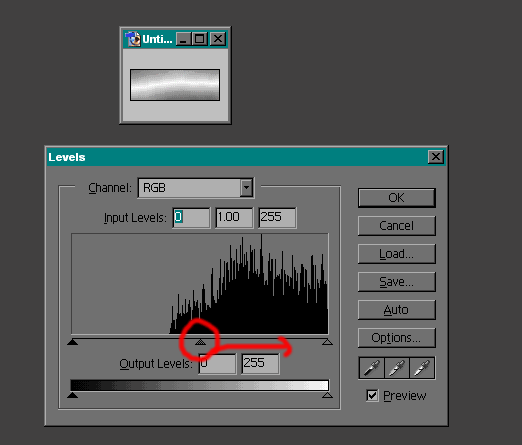
After dragding...
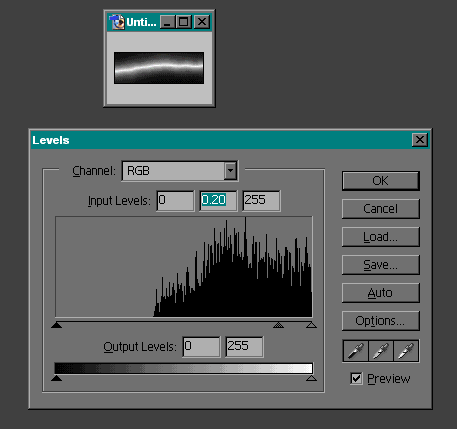
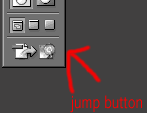
7.Rename each layers by double clicking its layer name(not the layer's thumbnail) and open your ImageReady by clicking the jump button. Refer to the illustrations below:
8.On ImageReady open your Animation palette by selecting Windows>Animation.
9.In your Animation palette you should see a lonely frame. And now for the part where the "Lightning will strike!". In your Animation palette click the Duplicate current frame button then look back to your Layers palette and hide the layer named "1" by clicking the "eye" icon located at the left of the layers thumbnail.

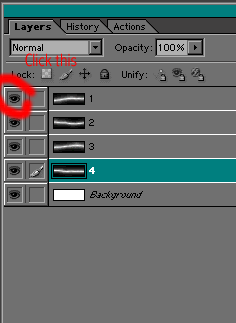
10.Again click the Duplicate current frame button and hide the layer named "2". Repeat the process for the layer "3"(see image below).

11.For the final step click Play. You can add text if you want or "just add whatever you want" and to tell you honestly, I took the idea of creating a lightning image from Good-Tutorials.com and "add" some animations.
